Remove a Photo Background for Free, No Photoshop Needed
 PSCraft Team
A practical walkthrough for cutting a subject out of its background for free: the one-click route, what to do when it fails, and how to export a clean transparent PNG.
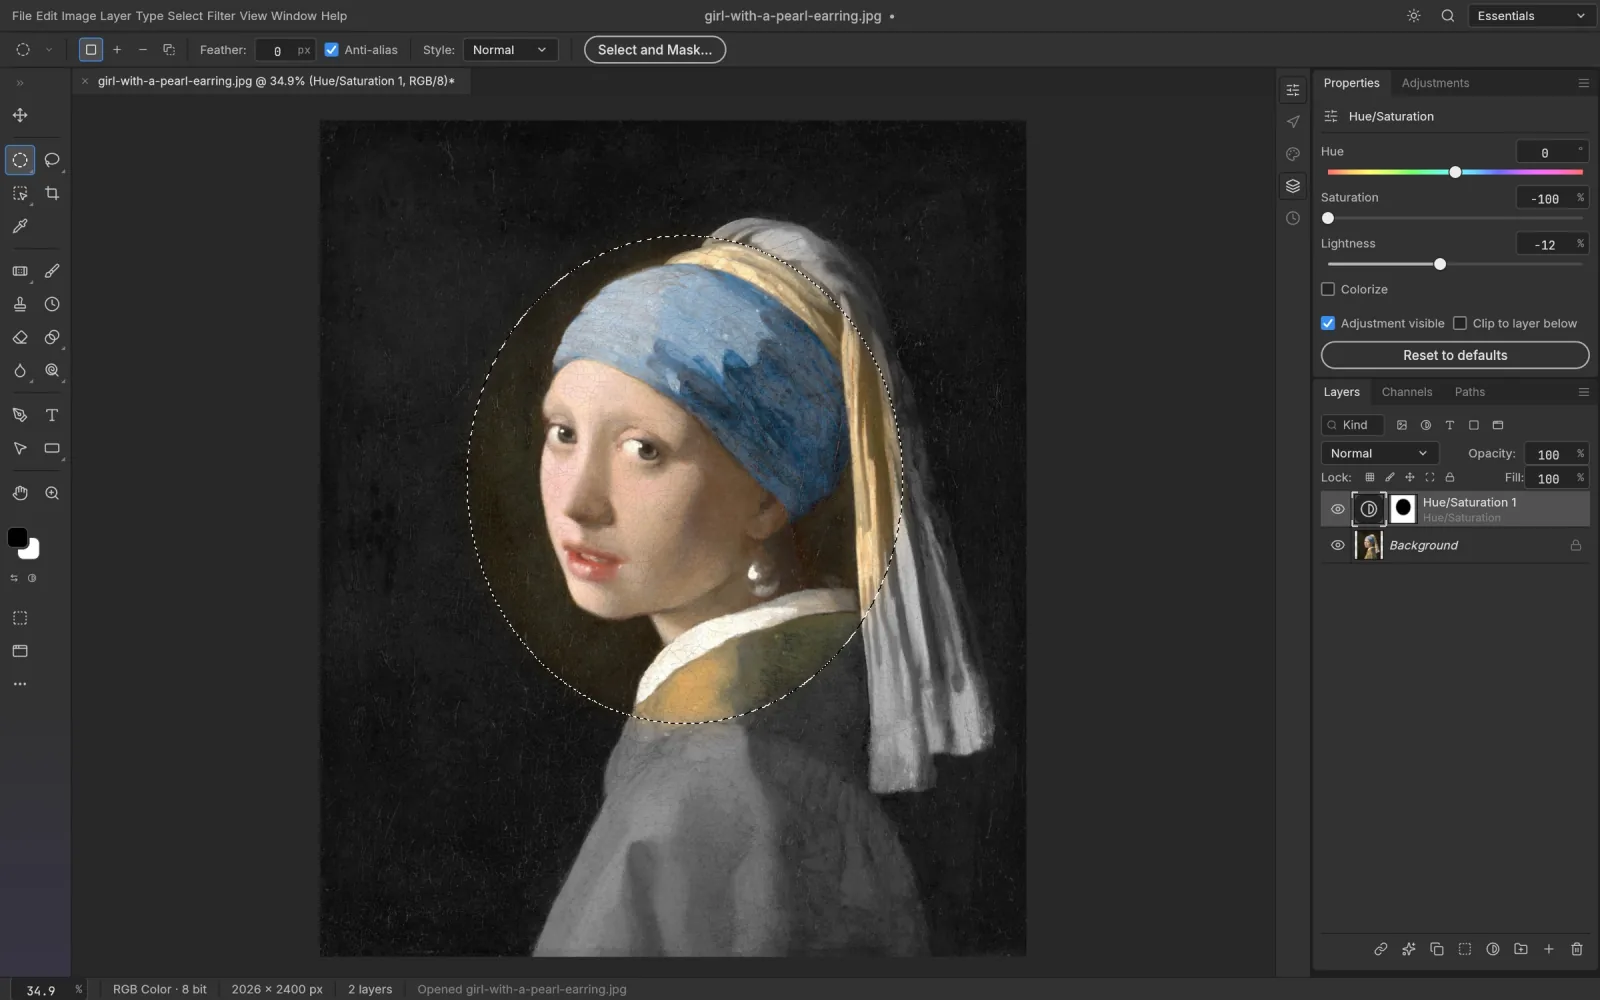
Cutting something out of its background used to mean an afternoon with the Pen tool. Today it is usually one click plus a little tidying. Here is the whole process in a free browser editor, including the tidying that tutorials tend to skip.
Start with the automatic pass
- Open PSCraft and drop your image in.
- With the image layer selected, find Remove Background under Quick Actions in the Properties panel and click it.
- The background vanishes behind a layer mask.
Look closely at the result before going further. Zoom to 100% and check the outline, especially hair, fingers and anything thin.
Why the result is a mask
The background hasn't been deleted. It is hidden by a mask: a greyscale image attached to the layer in which white shows and black hides. That matters because every mistake is fixable. If part of the subject has gone missing, you paint it back.
Repairing the outline
Click the mask thumbnail in the Layers panel so that you're painting on the mask and not the photo. Then:
- paint white over areas of the subject that were wrongly removed;
- paint black over bits of background that were left behind;
- use a hard brush for crisp edges such as product packaging, and a soft one for skin and fabric;
- lower the brush opacity for semi-transparent areas such as glass or veils.
When one click isn't enough
PSCraft's detection runs on your computer and looks for contrast between subject and background. It struggles when the two are similar. In that case pick the tool that suits the picture:
- Plain backdrop. Click the background with the Magic Wand, invert the selection, and add a mask.
- Clear subject, messy background. Drag over the subject with Quick Selection and add a mask.
- Hair and fur. Make a rough selection, then open Select and Mask and raise the radius so that fine strands are picked up.
Details that make a cutout convincing
- Leave a natural shadow or add one. A product floating on white looks pasted. A soft Drop Shadow layer style grounds it.
- Watch for colour fringing. A subject shot against a bright colour often carries a thin rim of it. Contract the mask by a pixel or paint the edge away.
- Match the new background. If you're placing the subject elsewhere, adjust its brightness and colour temperature to fit.
Exporting
Choose File › Export › Quick Export as PNG. PNG keeps the transparency. WebP does too and gives a smaller file for the web. JPEG can't store transparency, so avoid it here.
If you may need to revise the cutout, also save a PSD, which keeps the mask editable.
A note on online background removers
Dedicated AI removal sites can do better on difficult images, since they run large models on their servers. The cost is that your picture is uploaded, and the free tier often limits resolution. For product shots, portraits against simple backgrounds and anything private, doing it locally is quicker and keeps the file on your machine. The Remove Background guide covers the tool in more depth.